


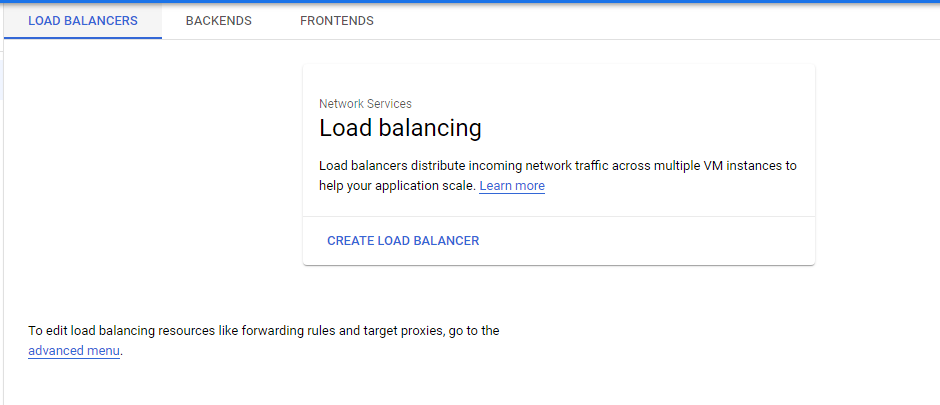
Configuring an HTTP Load Balancer with Autoscaling
Cloud Load Balancing is a fully distributed load balancing solution that balances user traffic (HTTP(s), HTTPS/2 with gRPC, TCP/SSL, UDP, and QUIC) to multiple backends to avoid congestion, reduce latency, increase security, and reduce costs. It is built on the same frontend-serving infrastructure that powers Google, supporting 1 million+ queries per second with consistent high performance and low latency.
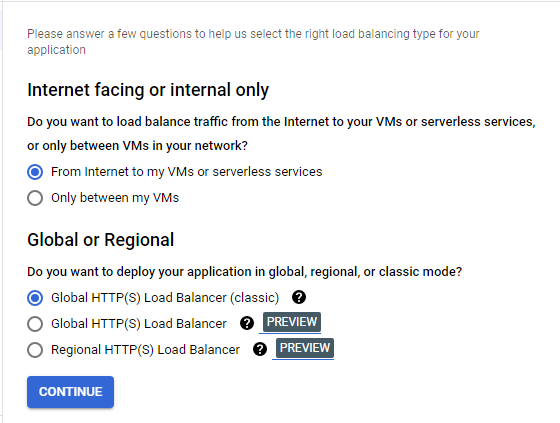
Google Cloud HTTP(S) load balancing is implemented at the edge of Google’s network in Google’s points of presence (POP) around the world. User traffic directed to an HTTP(S) load balancer enters the POP closest to the user and is then load-balanced over Google’s global network to the closest backend that has sufficient available capacity.
Global HTTP(S) Load Balancing Architecture
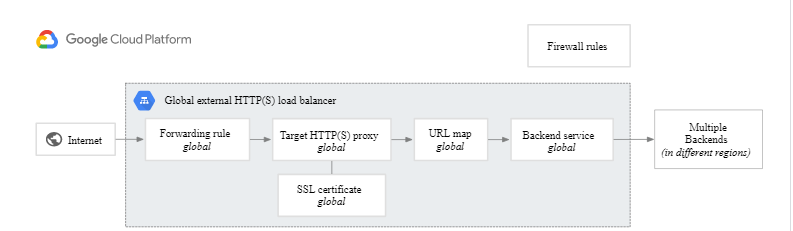
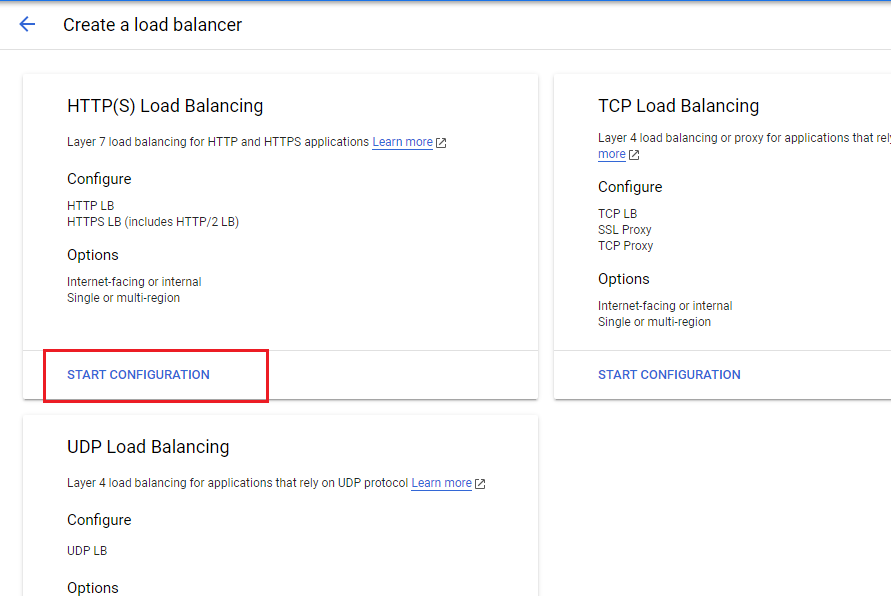
- For global HTTP(s) load balancing the Global Anycast VIP (IPv4 or IPv6) is associated with a forwarding rule, which directs traffic to a target proxy.
- The target proxy terminates the client session, and for HTTPs you deploy your certificates at this stage, define the backend host, and define the path rules. The URL map provides Layer 7 routing and directs the client request to the appropriate backend service.
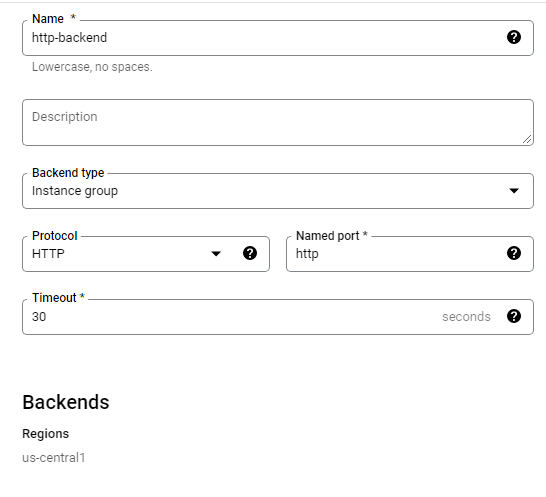
- The backend services can be managed instance groups (MIGs) for compute instances, or network endpoint groups (NEGs) for your containerized workloads. This is also where service instance capacity and health are determined.
- Cloud CDN caches content for improved performance. You can set up firewall rules to control traffic to and from your backend.
- The internal load balancing setup works the same way; you still have a forwarding rule but it points directly to a backend service. The forwarding rule has the Virtual IP address, Protocol, and up to five ports.
STEPS:
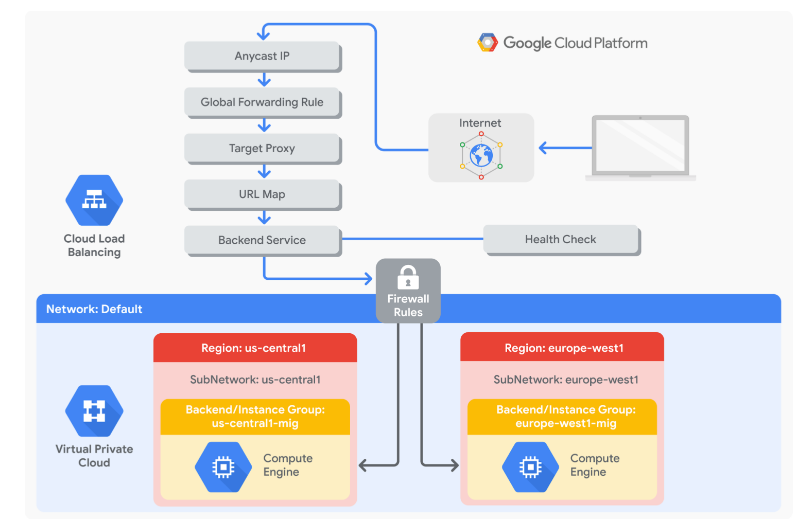
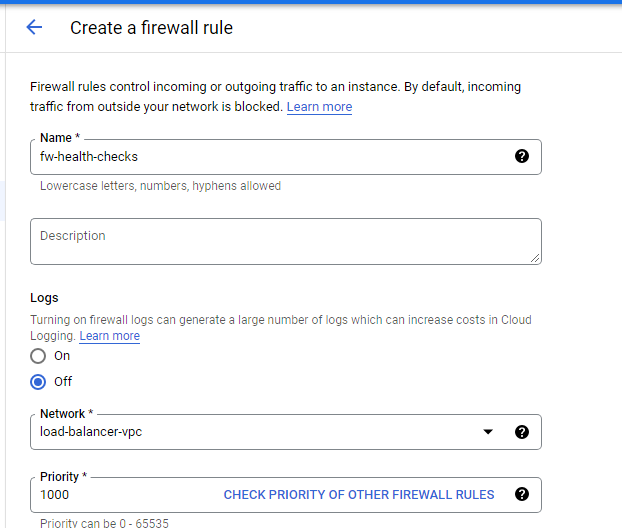
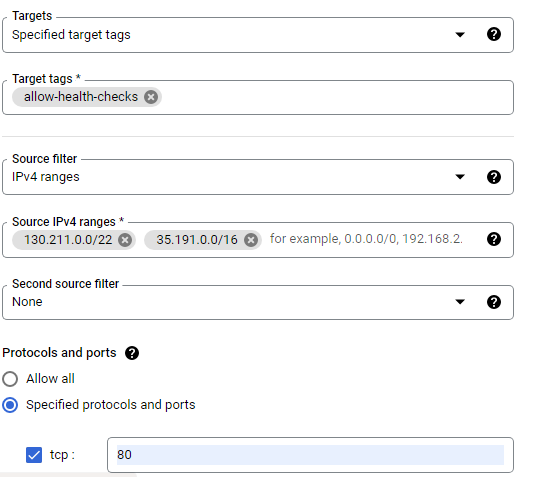
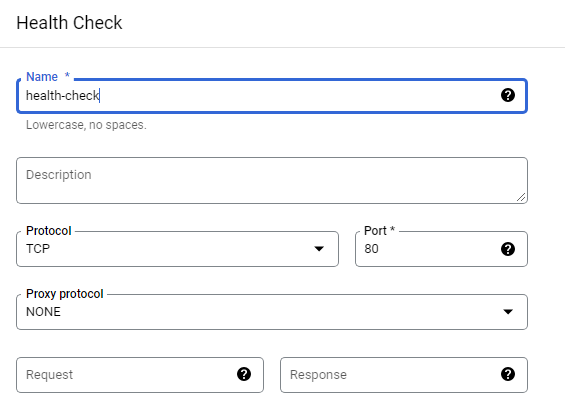
Create a health check firewall rule
Health checks determine which instances of a load balancer can receive new connections. For HTTP load balancing, the health check probes to your load-balanced instances come from addresses in the ranges 130.211.0.0/22 and 35.191.0.0/16. Your firewall rules must allow these connections.
Create firewall rule:
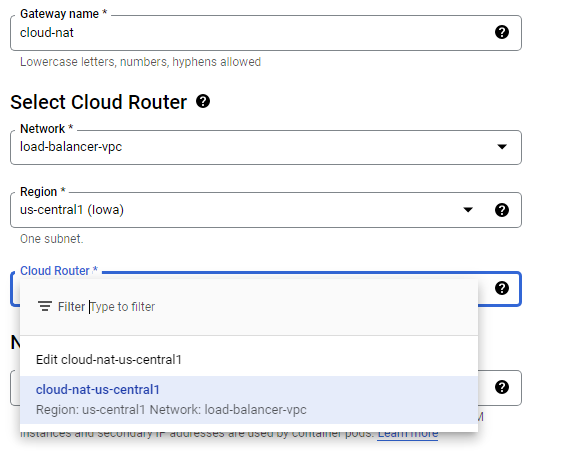
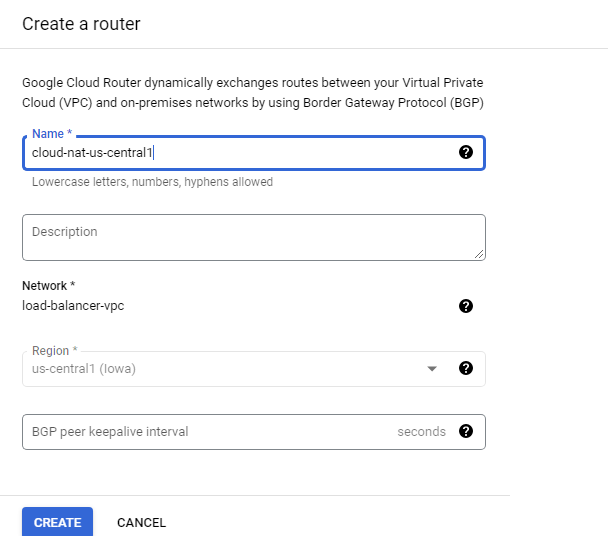
Create a NAT configuration using Cloud Router
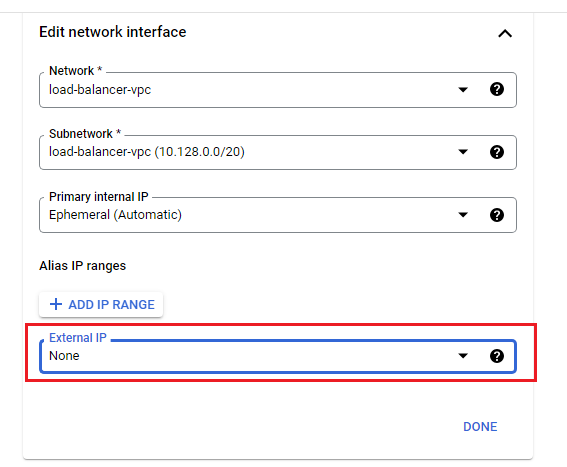
The Google Cloud VM backend instances that are to be set up will not be configured with external IP addresses.
Instead, we will set up the Cloud NAT service to allow these VM instances to send outbound traffic only through the Cloud NAT, and receive inbound traffic through the load balancer.
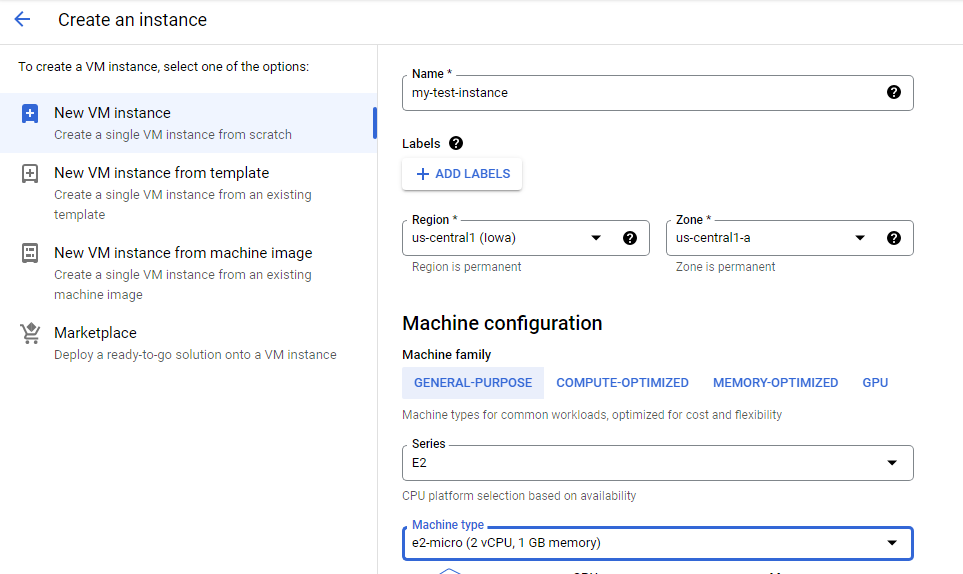
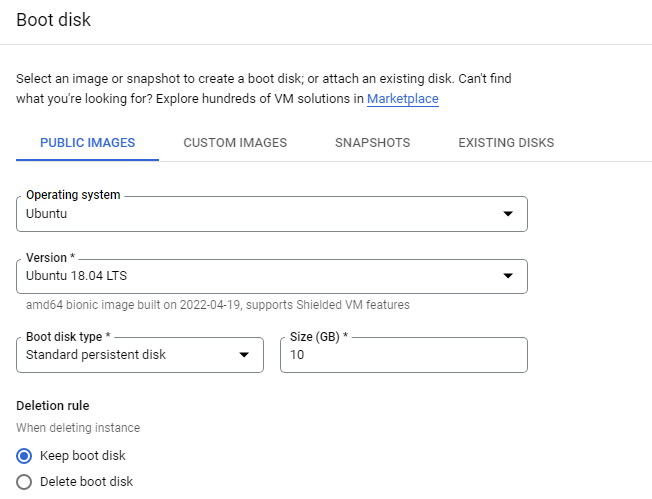
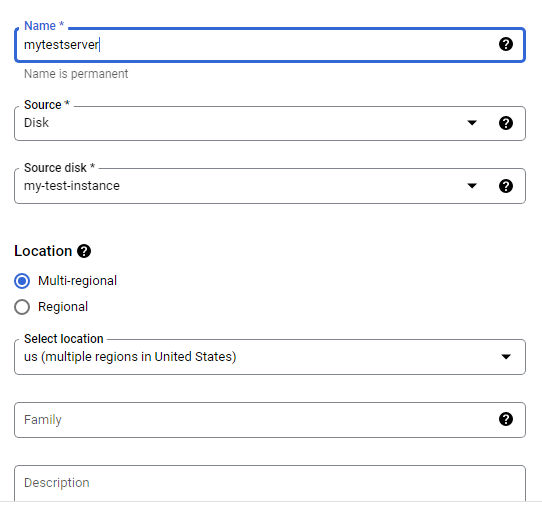
Create a custom image for a web server
Create a custom web server image for the backend of the load balancer.
Install apache2 in the VM
sudo apt-get update
sudo apt-get install -y apache2
sudo service apache2 start
Set the Apache service to start at boot
The software installation was successful. However, when a new VM is created using this image, the freshly booted VM does not have the Apache web server running. Use the following command to set the Apache service to automatically start on boot. Then test it to make sure it works.
In the web server SSH terminal, to enable apache2 at start up/ on boot
sudo update-rc.d apache2 enable
Verify that the boot disk will not be deleted when the instance is deleted then delete the instance

From the custom image, multiple identical web servers can be started.
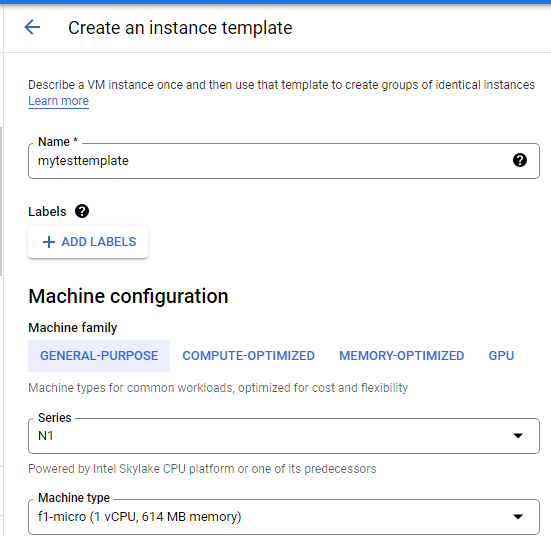
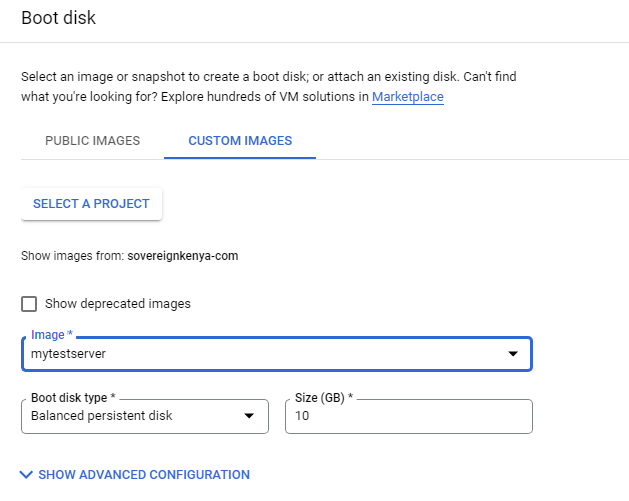
Create an instance template based on the custom image
A managed instance group uses an instance template to create a group of identical instances. These can be used to create the backends of the HTTP load balancer.
An instance template is an API resource that you can use to create VM instances and managed instance groups. Instance templates define the machine type, boot disk image, subnet, labels, and other instance properties.
Create two managed instance groups
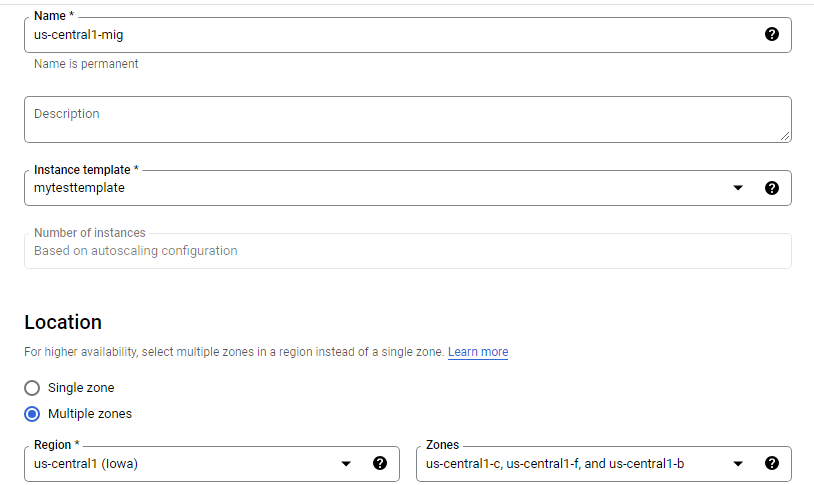
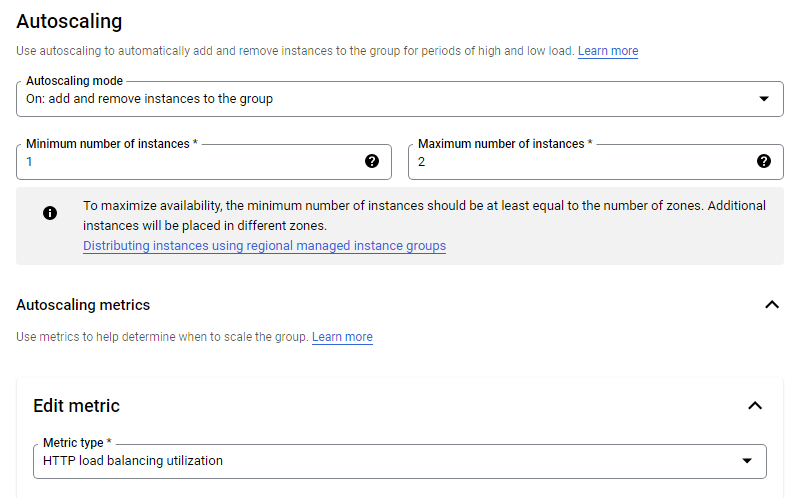
Managed instance groups offer auto-scaling capabilities that allow you to automatically add or remove instances from a managed instance group based on increases or decreases in load. Autoscaling helps your applications gracefully handle increases in traffic and reduces cost when the need for resources is lower. You just define the autoscaling policy, and the autoscaler performs automatic scaling based on the measured load.
Managed instance group health checks proactively signal to delete and recreate instances that become unhealthy.
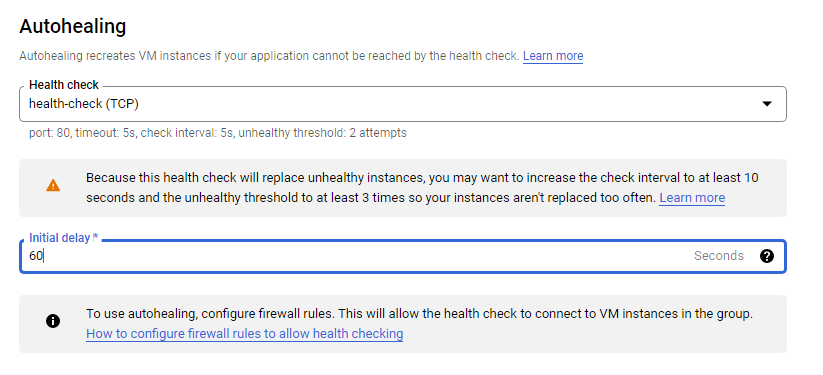
The initial delay set to 60 sec: is how long the Instance Group waits after initializing the boot-up of a VM before it tries a health check. You don’t want to wait 5 minutes for this during the lab, so you set it to 1 minute.
Repeat the same for the Europe west1 instance
Configure an HTTP load balancer with IPv4 and IPv6
Configure the HTTP load balancer to balance traffic between the two backends (us-central1-mig in us-central1 and europe-west1-mig in europe-west1)
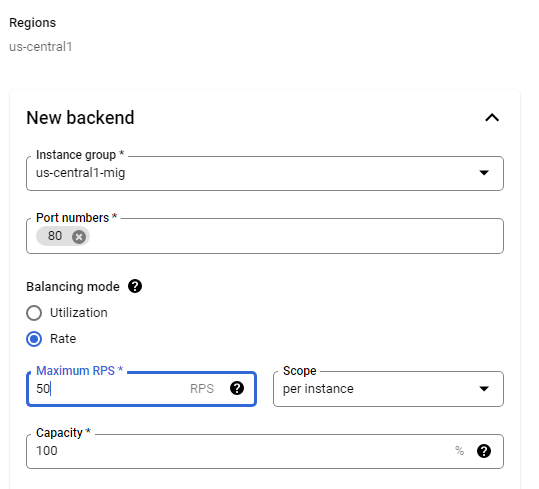
This configuration means that the load balancer attempts to keep each instance of us-central1-mig at or below 50 requests per second (RPS).
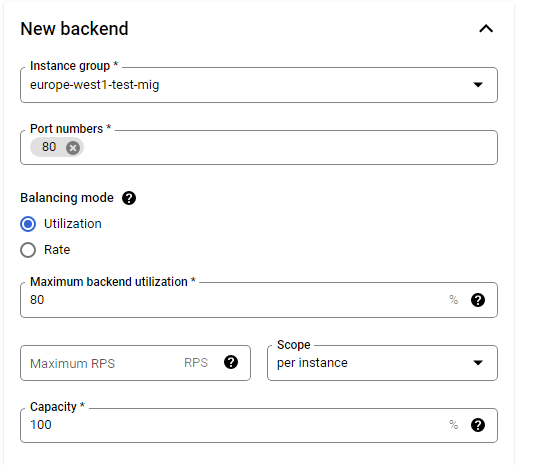
This configuration means that the load balancer attempts to keep each instance of europe-west1-mig at or below 80% CPU utilization.
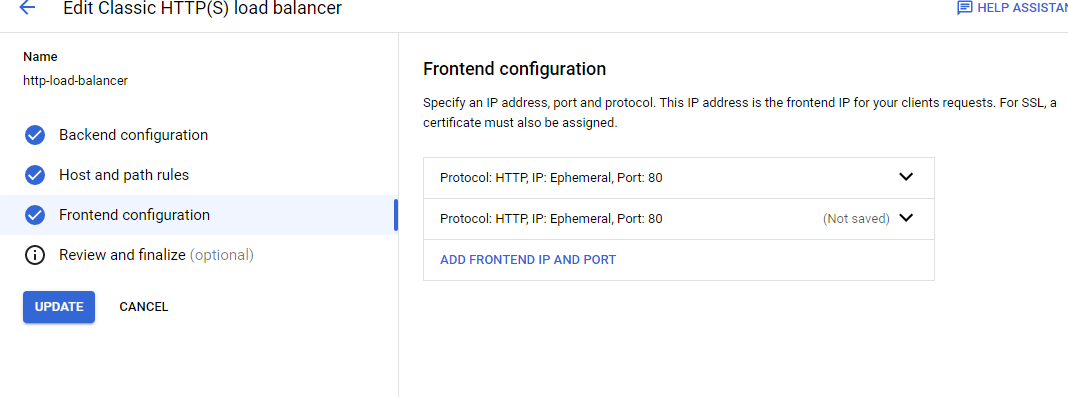
Configure the frontend
The host and path rules determine how your traffic will be directed. For example, you could direct video traffic to one backend and direct static traffic to another backend.
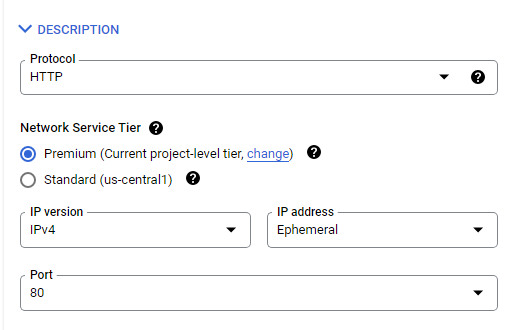
Note the IP addresses of both IPV4 and IPV6 as they will be used
34.111.12.176:80
HTTP [2600:1901:0:5d31::]:80
Stress test an HTTP load balancer
Access the HTTP load balancer
To check the status of the load balancer, run the following command,
LB_IP=34.111.12.176:80
while [ -z “$RESULT” ] ;
do
echo “Waiting for Load Balancer”;
sleep 5;
RESULT=$(curl -m1 -s $LB_IP | grep Apache);
done
Once the load balancer is ready, the command will exit.
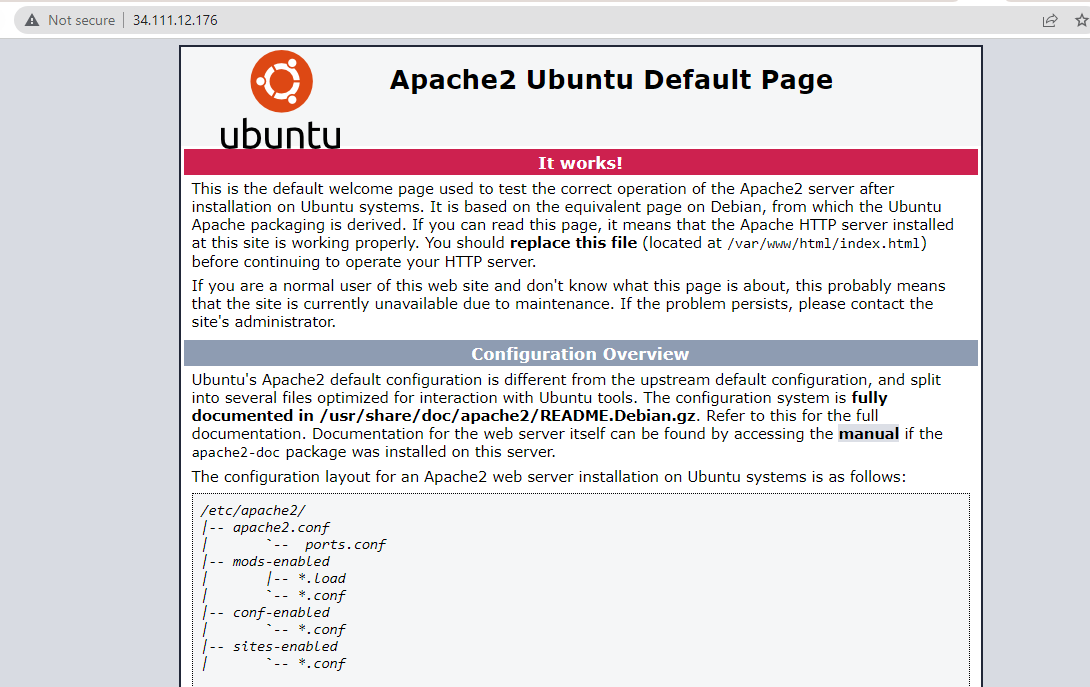
If navigate to the IPV4 address in the browser, see the default apache2 page
Stress test the HTTP load balancer
Create a new VM to simulate a load on the HTTP load balancer. Then determine whether traffic is balanced across both backends when the load is high.
To create an environment variable for your load balancer IP address, run the following command:
export LB_IP=34.111.12.176:80
To place a load on the load balancer, run the following command:
ab -n 500000 -c 1000 http://$LB_IP/
Go to the http-lb.Click Monitoring and monitor the Frontend Location (Total inbound traffic) between North America and the two backends for a couple of minutes.
At first, traffic should just be directed to us-central1-mig, but as the RPS increases, traffic is also directed to europe-west1-mig. This demonstrates that by default traffic is forwarded to the closest backend, but if the load is very high, traffic can be distributed across the backends.