


Implementation of Footer using GWS Admin Console.
In this guide, we will learn how to use the Admin Console in Google Workspace to implement a footer.
Prerequisites
Hosting Platform
Implementing a footer is normally done using a URL linking to the image intended for implementation as a footer. This brings about the need to host the image as it will provide us with the required URL. There are several image hosting platforms available, namely:
You can also host the image internally if the resources required are available.
For this guide, we will use Hubspot.
Image to be Hosted
On Hubspot, navigate to Marketing > Files to find/upload the footers to be implemented.

Navigating to Image Files on HubSpot
Then navigate to the folder where your images are stored. You can also upload the image files from here or even create a folder to store the images.
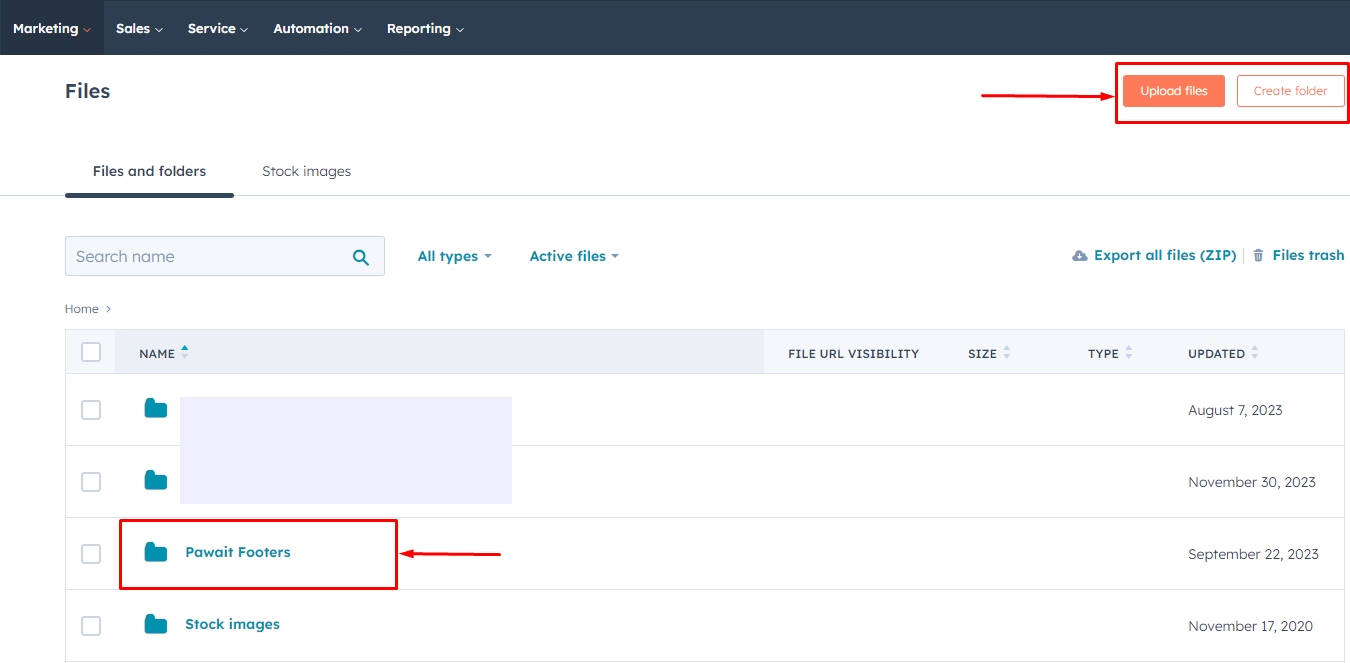
Folder containing Footer Images
Navigate and choose the image you would like to use as a footer.
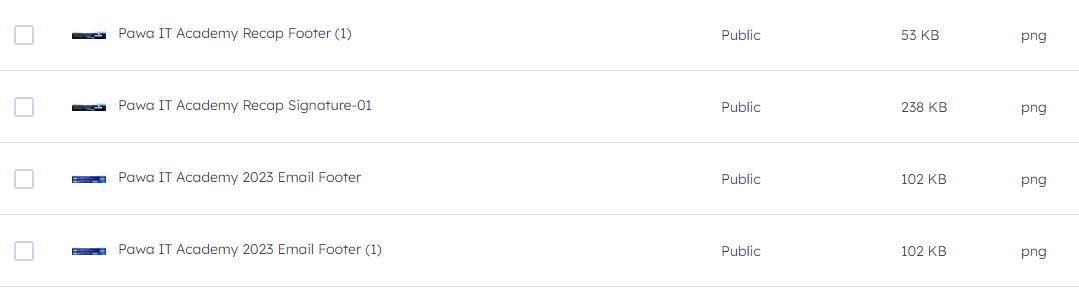
Sample Footer Images
On your right, a screen will appear showing file details of the selected image. Click on Copy URL to get the image’s hyperlink.
Navigating the Admin Console
Now login to the GWS Admin console, and using the navigation bar on the left, navigate to Apps > Google Workspace > Gmail.
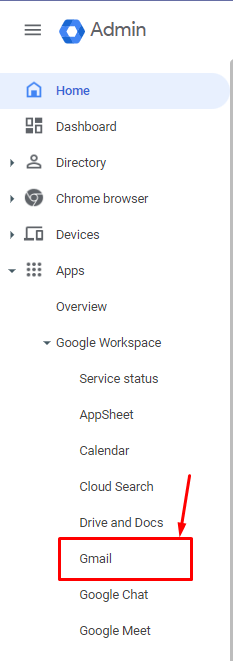
Path to Settings for Gmail
You should now choose Compliance in the Settings for Gmail.
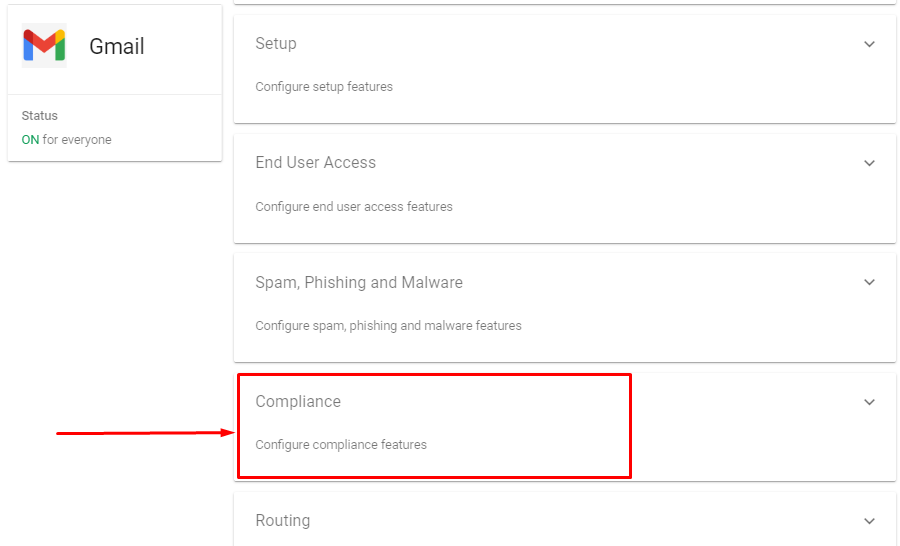
Compliance Settings for Gmail
You should now choose the Organizational Unit for which you would like the users to have the footer implemented and click on ADD ANOTHER RULE.
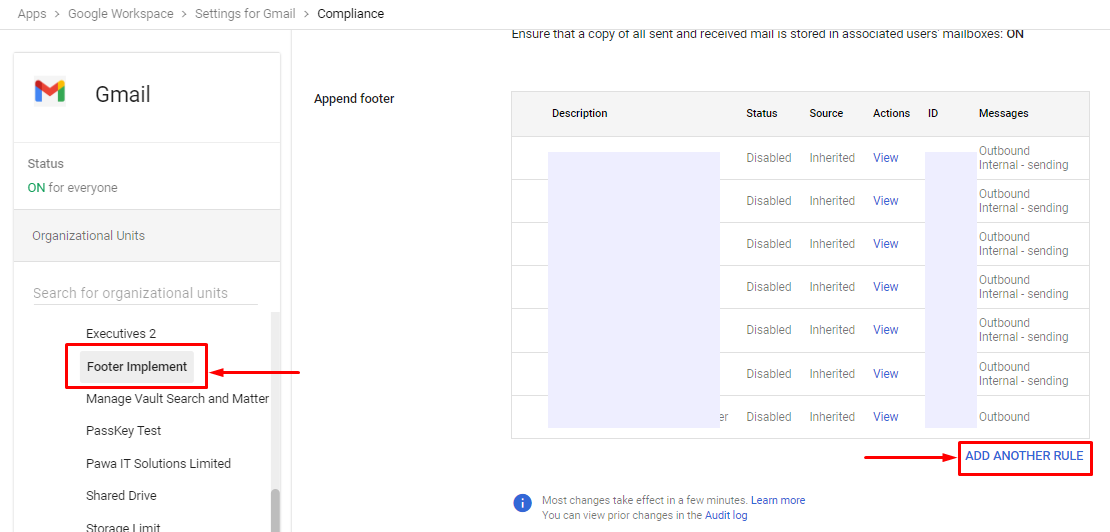
Addition of Footer Rule to Chosen Organizational Unit
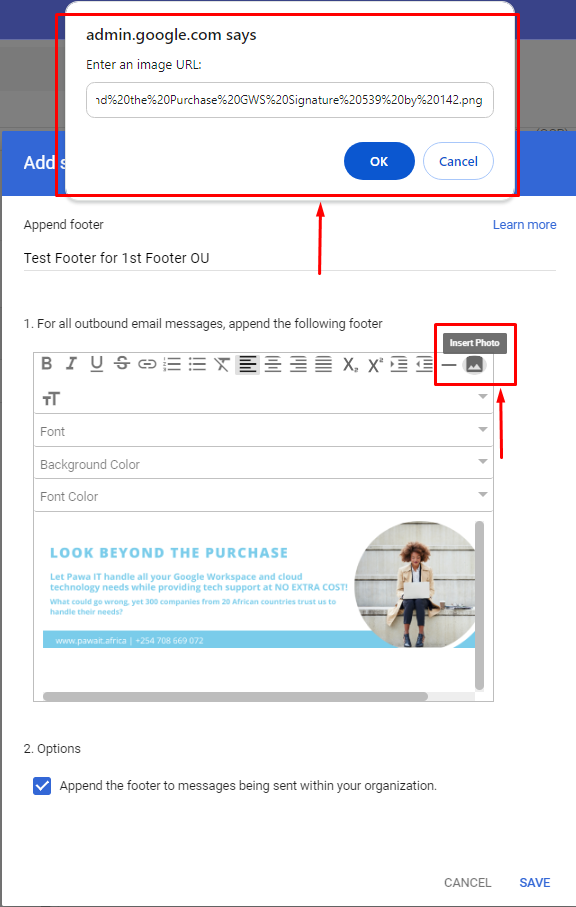
A pop-up will then appear titled “Add Setting”. Click on Insert Photo, another pop-up will appear at the top of the screen, asking for the image URL. You should paste the URL copied from Hubspot or any other image hosting platform.
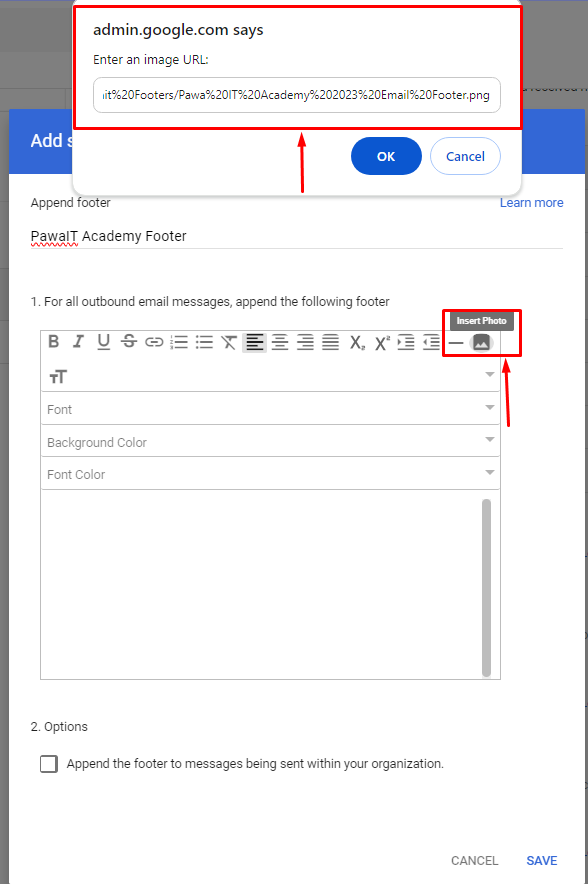
How to Add Footer Image Using URL
Give the footer to be implemented a name, and you should get a preview of the image stored on your image hosting platform. You can also check the box that says “Append the footer to messages being sent within your organization”. This will allow the footer to appear when you send emails internally within the organization.
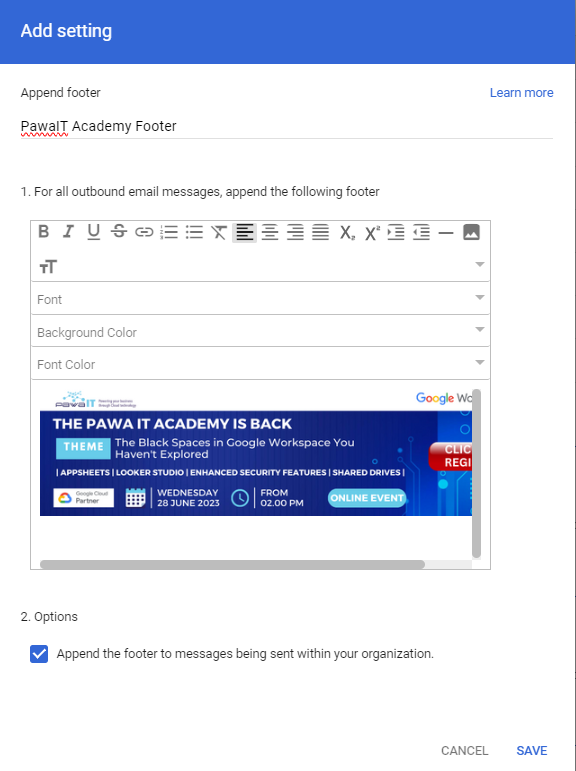
Footer Rule Setting
Click SAVE, and the footer rule should now be visible.

Implemented Footer Rule Setting
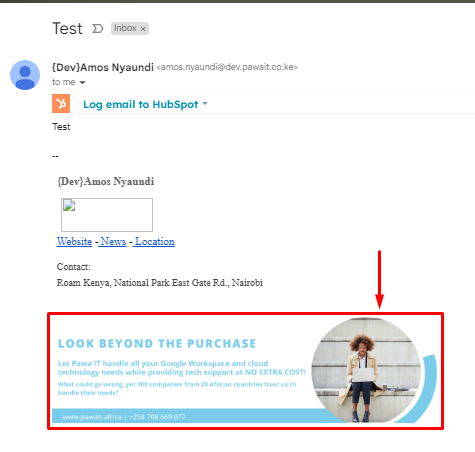
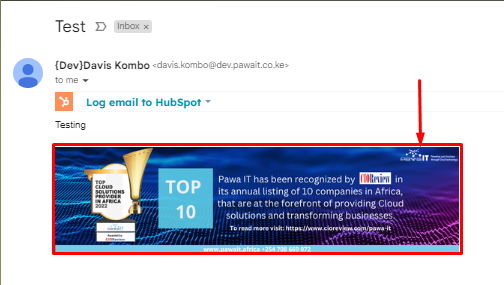
When you send an email, the footer will be appended to the email sent.
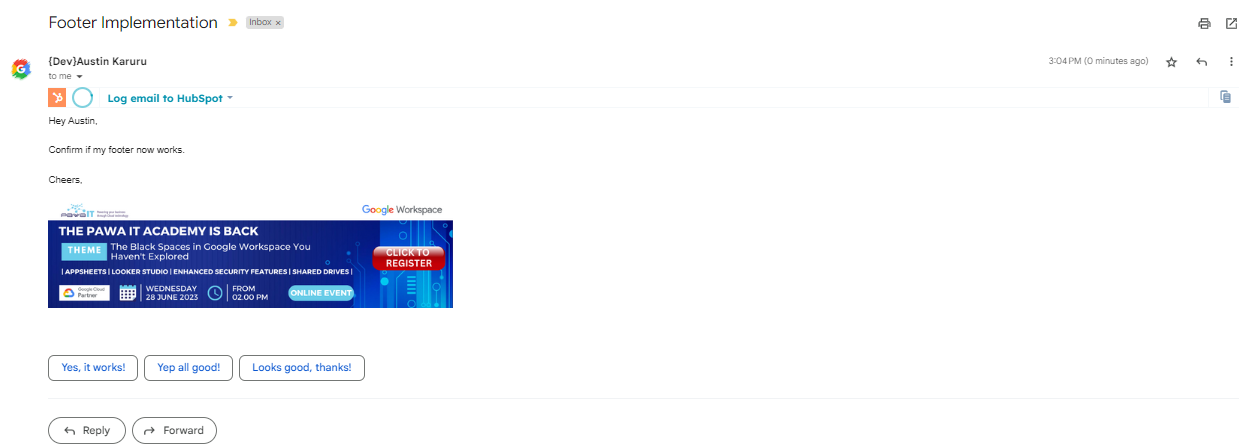
Footer Appended to Email
Implementation of Multiple footers across different Organizational Units
For an organization that spans various departments, each with its distinct identity and communication needs, you can deploy different footers for each. For instance, the marketing department and the IT team may require different footers to align with their respective branding and messaging strategies.
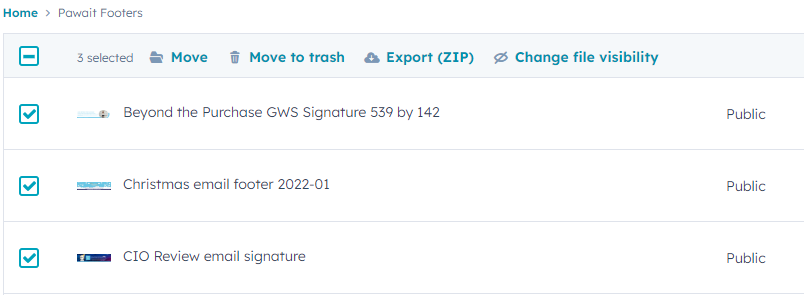
Sample Footer Images for Different Organizational Units
For this scenario, we will use three sample footers to showcase how to implement multiple footers across different Organizational Units.
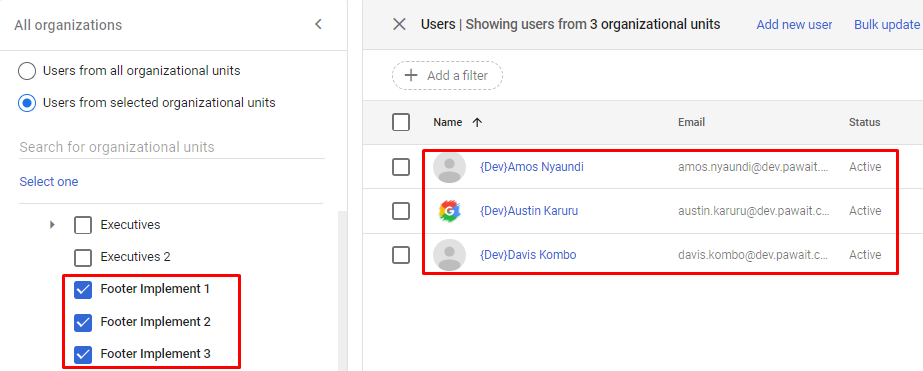
Users added to Sample Organizational Units
We will also use three different users set up within three different Organizational Units.
Implementation within the Organizational Units
Firstly, you need to select the OU before proceeding to add the rule. The procedure is pretty much the same as implementation on a single OU.
Adding Hosted Footer Image using URL

Implemented Footer Rule Setting for First OU
You should then repeat the procedure while selecting the different OUs to be affected.
Implemented Footer Rule Setting for Second OU
Implemented Footer Rule Setting for Third OU
Showcase of Implementation of Different Footers in Different OUs.
Implemented Footer for User in First OU

Implemented Footer for User in Second OU
Implemented Footer for User in Third OU
Additional Resources: